
Download and Assembly Instructions
I. Gather Supplies
- Scissors or Utility Knife and Cutting Mat
- 12” ruler
- Pencil
- 2 sheets of legal-size paper –white or ivory works best.
II. Download and print PDFs.
-
- Download and Print Two-Sided Color Booklet. Click here to download ColorVineMapleBookletSide1and2
- Use “scale to fit” – “print entire image” in printable area
- Use legal-size paper
- Choose High Quality print option
- Choose “Center Image
- Choose the two-sided feature on your printer with short-edge binding or simply feed the printer manually.
- Download and Print Two-Sided Color Booklet. Click here to download ColorVineMapleBookletSide1and2


2. Download and Print Insert Cards. Click here to download: VineMapleColorInsertCards
- use one-sided legal-size paper.
- center image;
- print at 100%. Don’t use “scale to fit.”

Vine Maple Color Insert Cards (both print on one side of a legal sized paper)
III. Assemble Accordion Book
Follow the directions below or download the instructions. Click Here to Download ColorVineMapleBookDownloadAssemblyInstructions
1. Trim 1/8” along the short edges of the page. (Note that the printer uses this 1/8 inch on each side to feed the paper into the printer.)

2. Fold paper in half “hamburger-style” with the side with the animals on the outside and the title page on the inside.

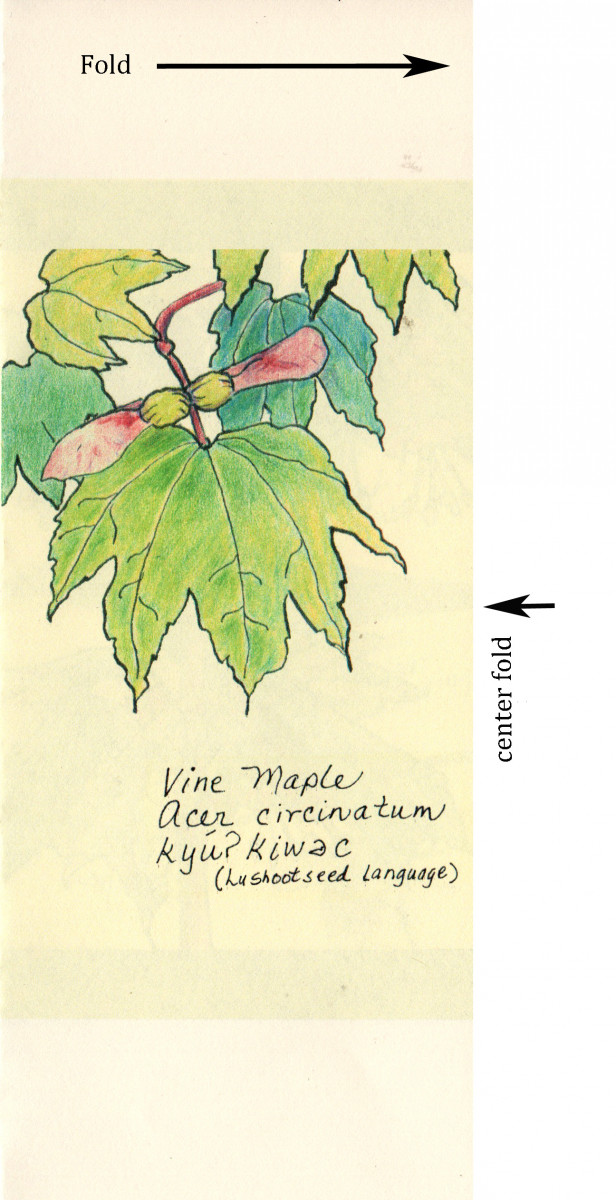
3. Fold First Side Toward the Center Fold
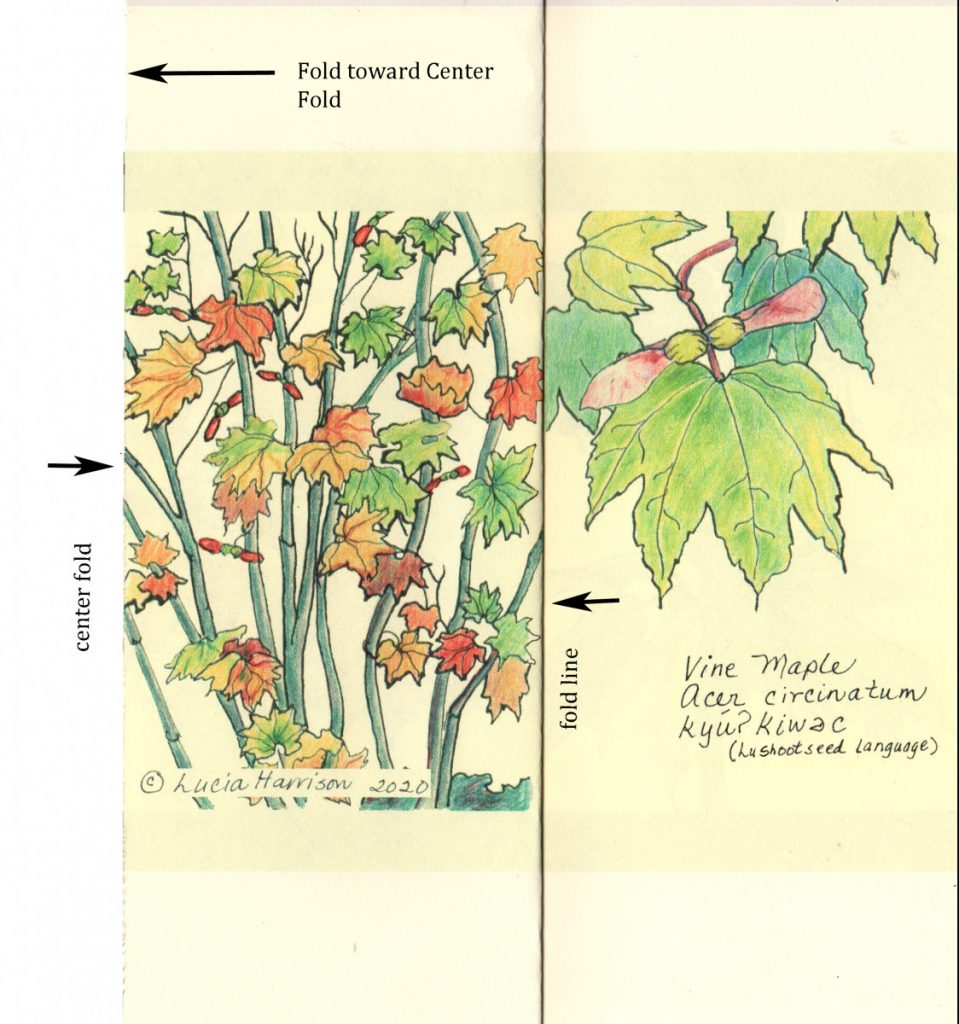
4. Turn the book over and fold the other edge to the center fold.
5. Unfold the book. Cut out Gray Shapes with Scissors or Utility Knife.

6. It will look like this when the gray areas are cut out:

7. Re-fold the accordion book so that the title page is on the front.

8. Gather the printout of the two cards that will be inserted into the magic book.
9. Cut out the cards by removing the gray shapes. The cards will look like this:

Card 1 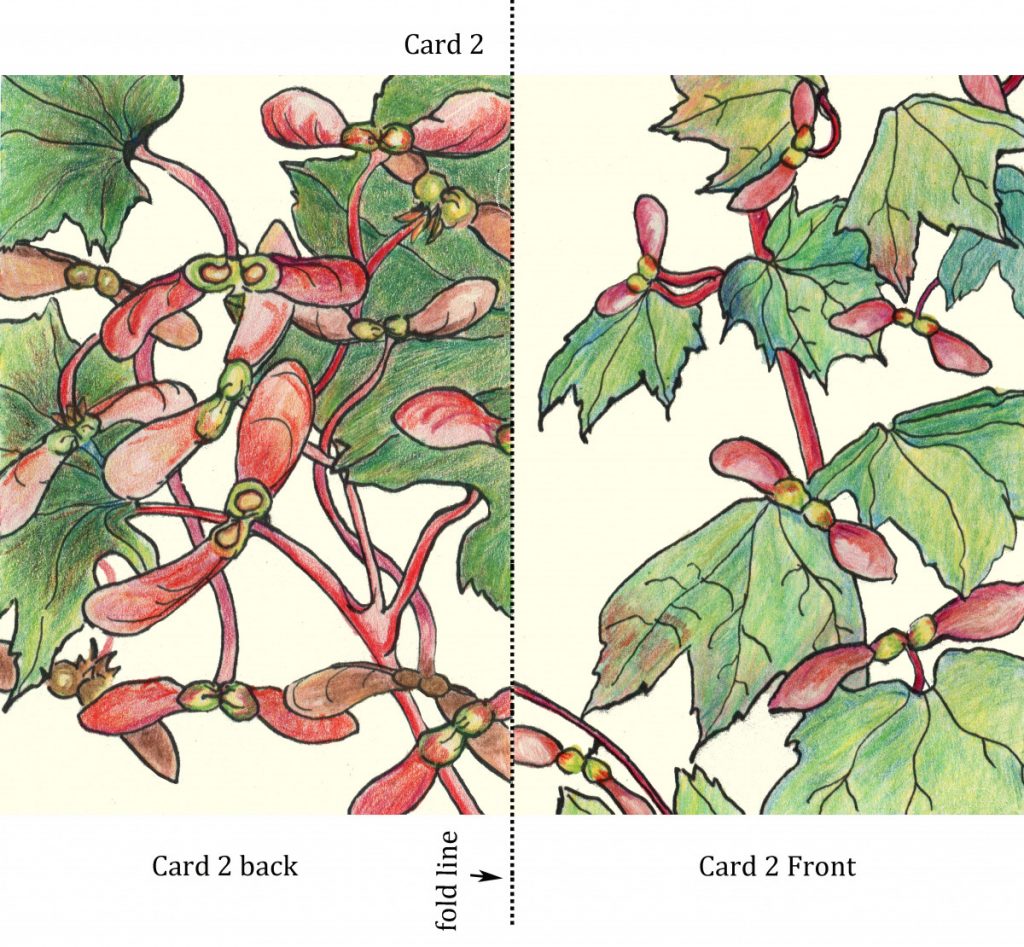
Card 2

10. Fold each card in half hamburger style.


11. Return to the accordion fold book shown in step 7. Open it. Weave Card 1 over Yellow Warbler, under Red-Breasted Nuthatch, over Cedar Waxwing and under Mason Bee. If it is too difficult you can trim a bit off of the right-hand (non-fold) side.

12. Turn the page and fold Yellow Warbler and Cedar Waxwing flaps to the right side. You will see two new slots.
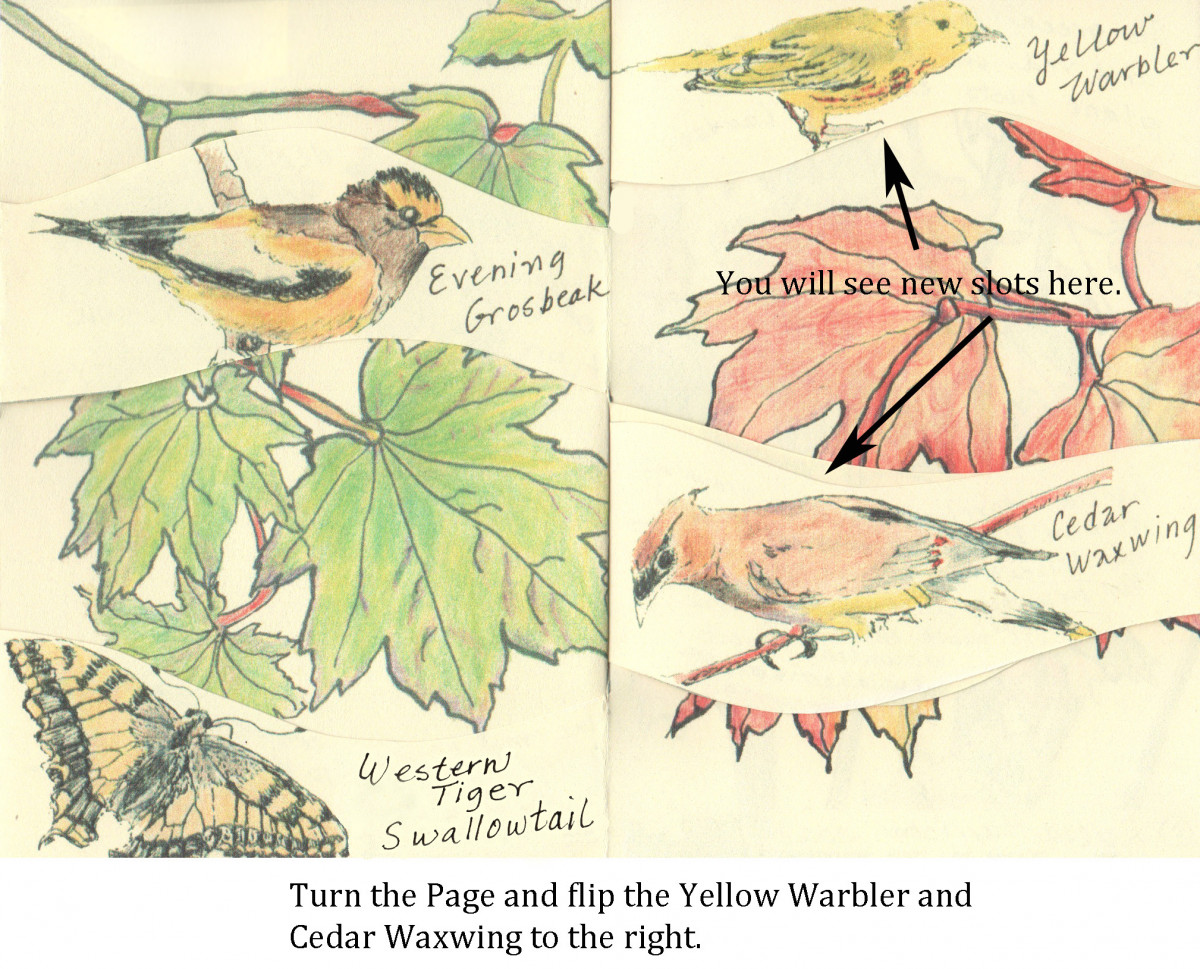
13. Slip Card two into the two new slots, behind the Yellow Warbler and Cedar Waxwing. If this is too difficult, trim a bit off the right hand, non-fold side. It also helps to keep the flaps straight.

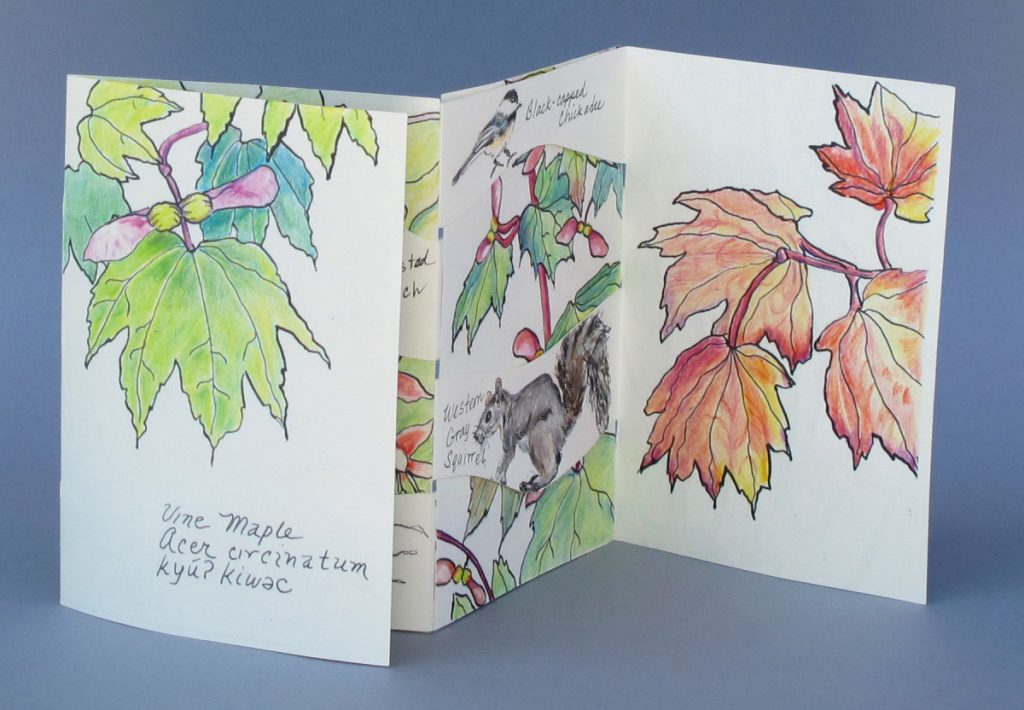
14. Turn the page and you will see:

15. Close the book so the back cover is facing up:
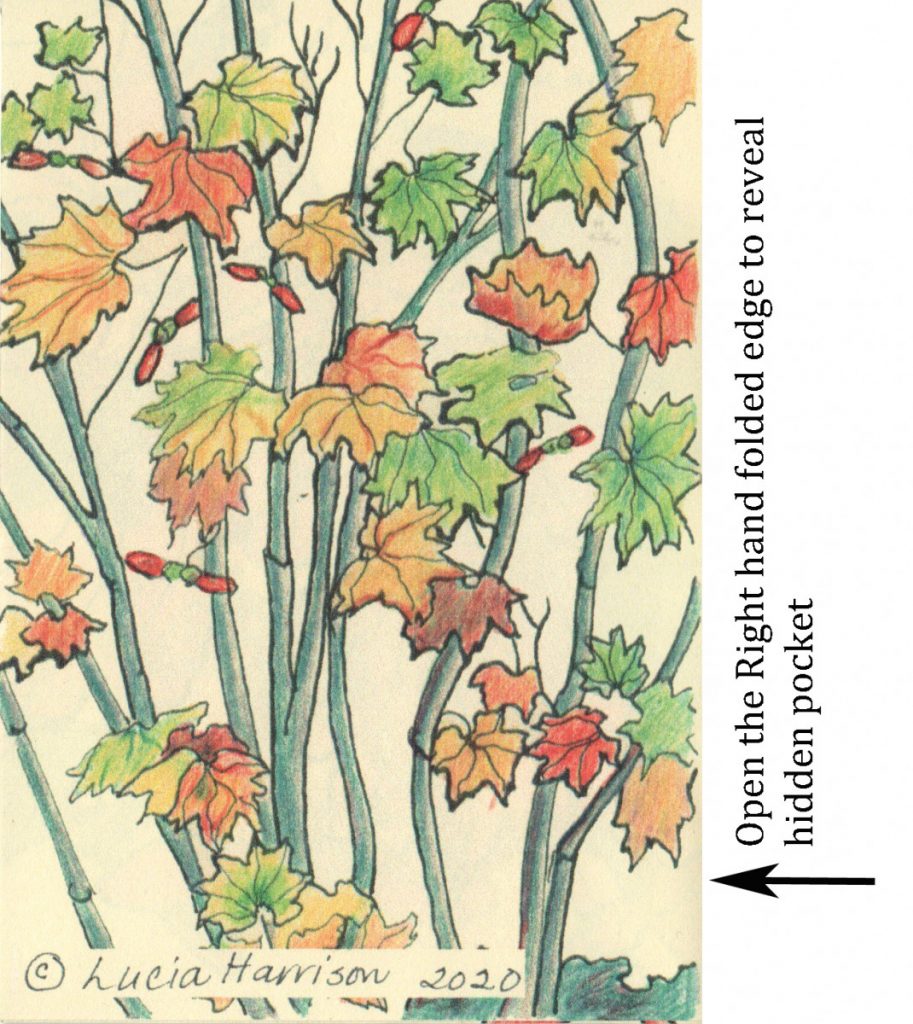
16. Open the right hand folded edged to reveal a hidden pocket. The hidden pocket contains information about the plant and animal interactions.

17. This contains information the artist gathered. If you would like to improve your plant and animal identification skills, then do your own hand coloring and research about the relationships between this plant and animals by downloading the black and white Magic Book for the plant you would like to study. Click here to download and print another magic book https://sites.evergreen.edu/nativeplantmagicbook/magic-book-download/